Live Chat Data Passing
Live Chat refers to the WxCC Digital Channel, and Data Passing refers to the ability for the hosting website, to send data to the Live Chat feature. This is useful for a variety of reasons, but namely, when the Live Chat is behind a login page, and therefore, we already know who’s chatting with us.
Summary
Below I will take you through three simple steps to pass data, with a fourth step, and possibly even more steps, that are left up to you, which is how you want to work with the data you are passed from the website. E.g., Do you just greet them by name? (what I will show). Or, will you perform a data dip on some piece of data passed over inside of your WxConnect flow?
The following help document is all we have to go off of: https://docs.imi.chat/reference/imichatwidgetinit, and because it’s insufficient to get a solution working, that is why I am writing this helpful tutorial for you (and me!).
Step 1 - Modify the Default Installation Code
If and when you create your chat widget, you will undoubtably come across the step where you receive the HTML/Javascript code to copy and paste into your website. We will need to add customer code to the end of that default block of code, right above the </script> closing tag.
// custom code addition to pass website data to webex connect flow
// setup a recurring check every 250ms to know when we're ready to attach our data
const wait = setInterval(() => {
    // if chat widget global object isn't present, continue to wait longer
    if (typeof imichatwidget === "undefined") return;

    // if the chat widget on() function isn't present, also continue to wait longer
    if (typeof imichatwidget.on === "undefined") return;

    // we have what we need to proceed, so stop the interval checking
    clearInterval(wait);

    // use the on ready callback to load the data at the appropriate time
    imichatwidget.on("imichat-widget:ready", () => {
        imichatwidget.init(

        // construct the data we want to send the chat widget
        // here we are just using static data; however, the values
        // can be supplied by server side rendered code, or references to
        // other javascript variables, which your site already works with
        // the JSON.stringify is required, as is the "custom_chat_fields" key

        JSON.stringify({
            "custom_chat_fields": {
                "name": "Anthony Holloway",
                "email": "anhollow@cisco.com"
            }
        }), () => {});
    });
}, 250);
If you want to see this custom code in the context of the overall website, I have an example here.
Step 2 - WxConnect Flow Variables
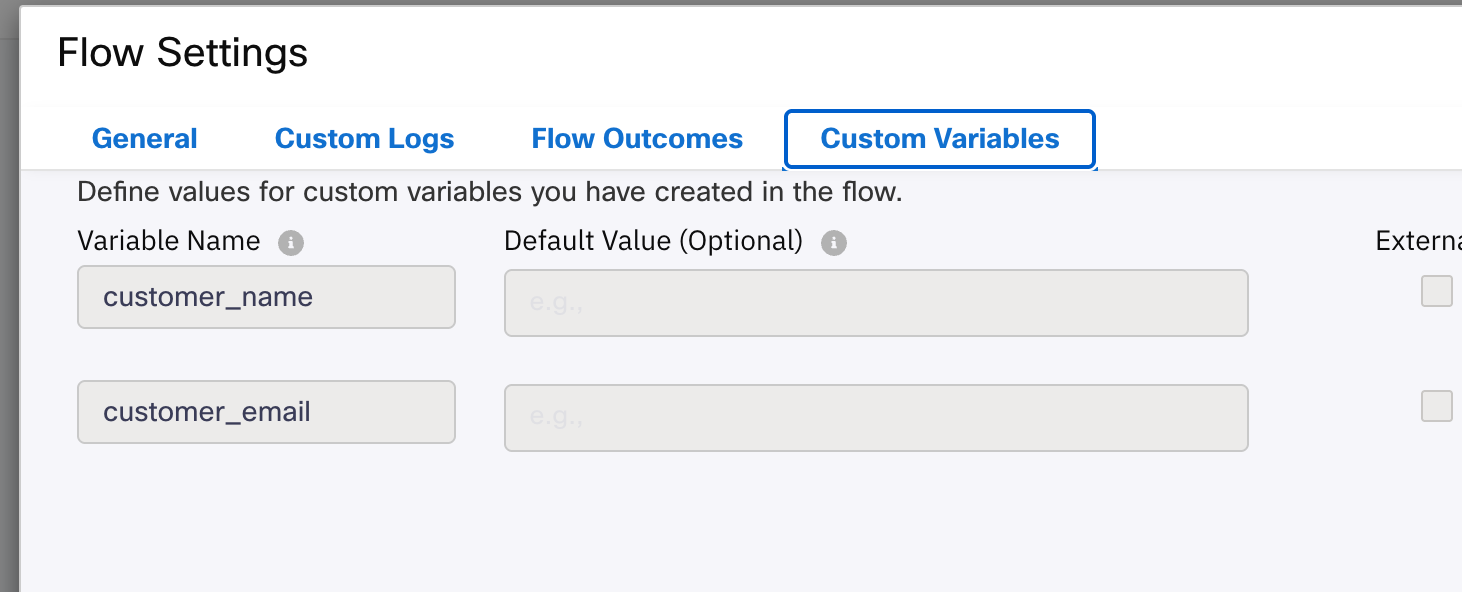
This step isn’t exactly necessary, but if you would like an easy way to work with the data as simple variable names, throughout your flow, then creating custom variables to hold that data will be convenient. Plus, the formatting of how you will receive the data is a JSON string, inside of a JSON string, which itself is inside of an Object, so accessing the data isn’t straight forward.
In my case, I am creating two custom variables in my WxConnect Flow, called: customer_name and customer_email, to match the two data elements I’m passing in. You may need different ones, less, or more, all depending on what the website is sending you in the above custom code.
Step 3 Evauate Node to Parse Data
You will receive the data in your connect flow from the start node, and here is the Evaluate node code you could use to parse and store the data in your custom variables.
try {
    const extras = JSON.parse("$(n2.inappmessaging.message.extras)");
    const data = JSON.parse(extras.custom_chat_attr);
    customer_name = data.name;
    customer_email = data.email;
} catch(e) {}

0;
And with that, you now have the two pieces of data in your flow and ready to work with. There’s nothing more to do, as the rest of the steps could just be about how you will use the data. In the next step I’ll just show one method.
Step 4 - Say Hello!
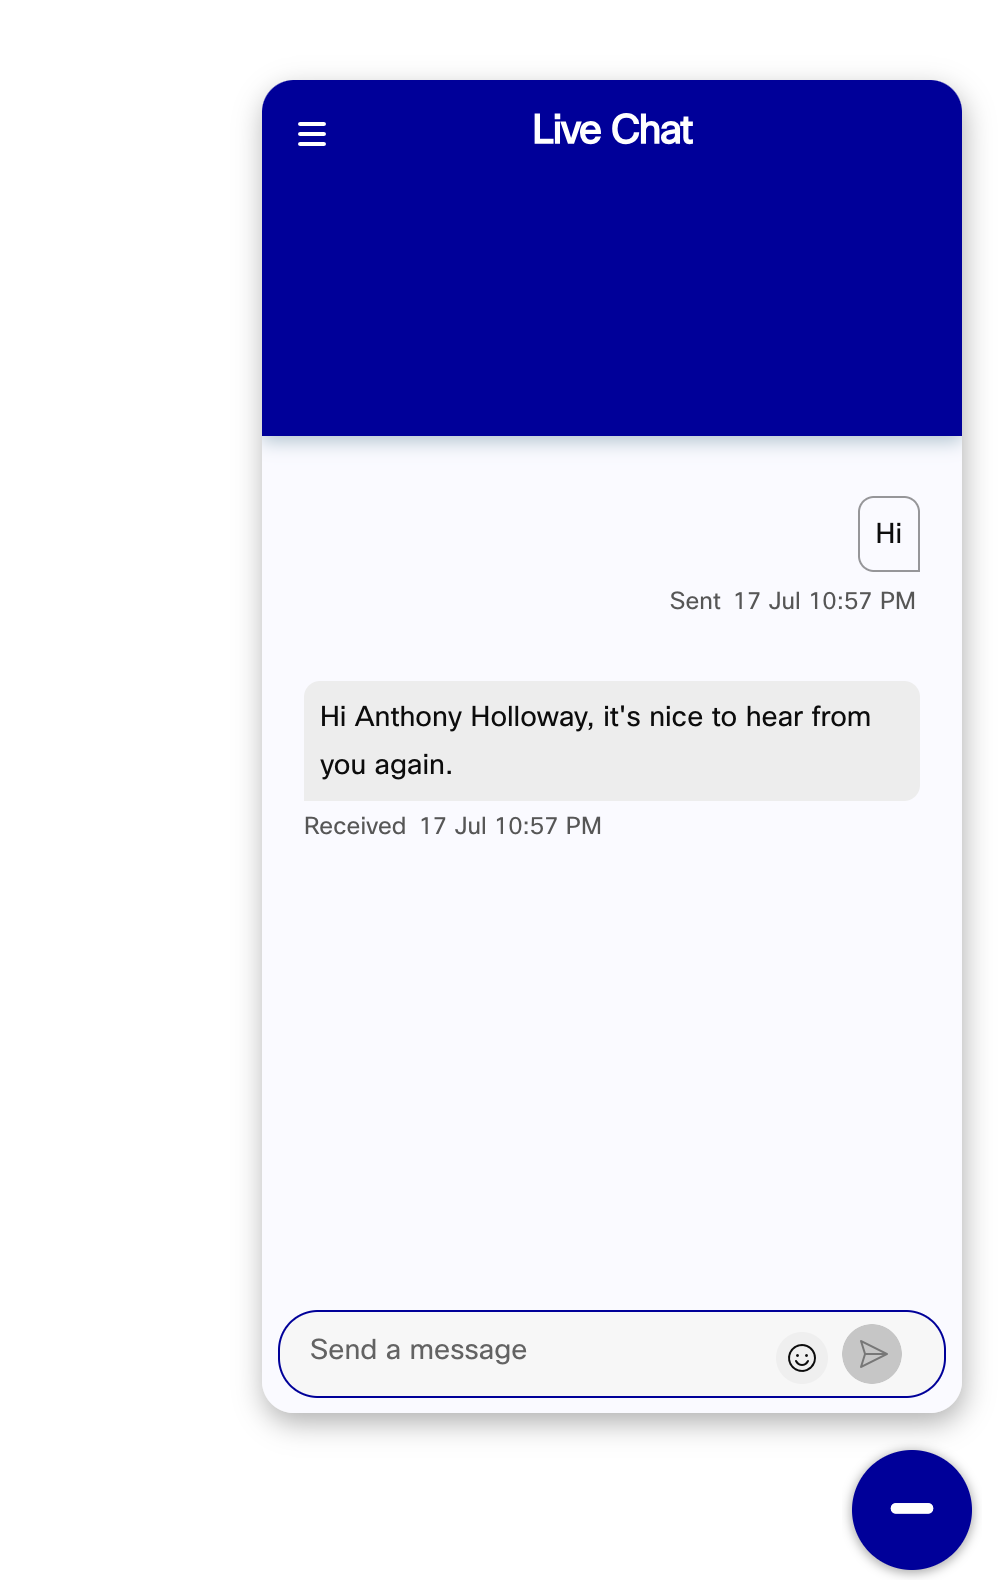
I will greet the chat user by name, in a very simple manner, just to show one simple usage of the custom variables. This is in the node which sends a message back to the chat user.
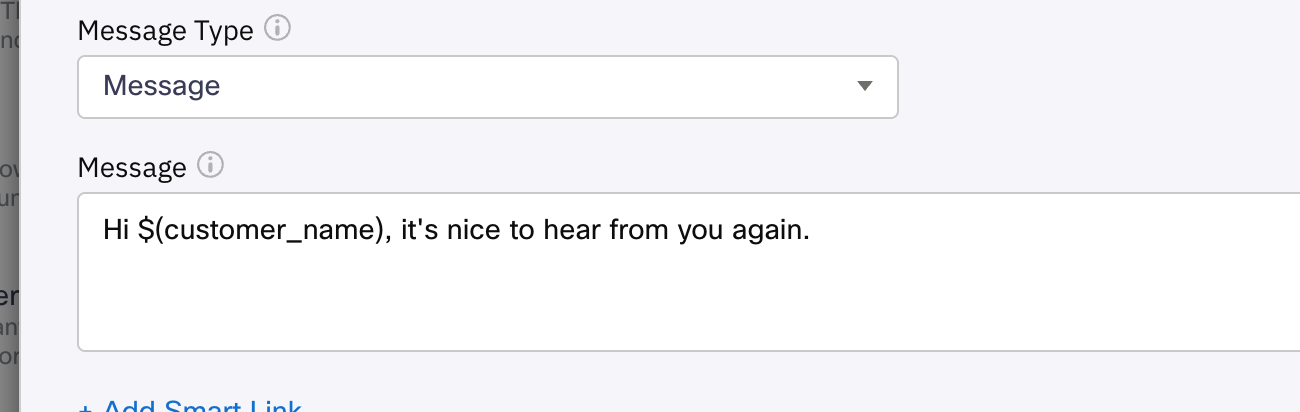
And here’s the outcome of that.